
Whatever age you are, there is something magical about watching a butterfly emerge from a cocoon. Such close encounters with nature can be particularly fascinating and inspiring for children. Many caterpillar rearing kits can be found in the shops, but they are often wasteful and expensive. So why not cut out the middleman and make your DIY caterpillar habitat.
[toc]
Materials Needed for a Caterpillar Habitat
| Materials | Description |
|---|---|
| Container or Enclosure | A suitable container or enclosure to house the caterpillars |
| Lid or Cover | A lid or cover to secure the habitat and prevent escapes |
| Ventilation | Adequate ventilation to maintain airflow within the habitat |
| Substrate | Suitable substrate for caterpillars to crawl on and pupate |
| Food Plants | Host plants specific to the caterpillar species being raised |
| Water Source | A source of water, such as a moist sponge or water dish |
| Accessories | Additional accessories like sticks, leaves, or branches for climbing and hiding |
| Magnifying Glass | Optional tool for observing caterpillars up close |
| Notebook or Journal | Optional for recording observations and behaviors |
Step 1: Get to know your caterpillar
Most of us assume all caterpillars like roughly the same thing; however, many are particular in their preferences. For example, many have specific food plants they will eat, meaning you need to know your caterpillar in order to understand what to feed it.
Additionally, some caterpillars have other needs you haven’t foreseen. Many blue butterflies have a symbiotic relationship with ants that helps them to thrive. It’s therefore essential you find a caterpillar that would be happy to live at home with you so that you can provide a safe and beneficial environment.
If you’re buying caterpillars online for your habitat, it’s worth noting the time of year. You want to make sure that there will be plenty for it to eat when you release your butterfly or moth into the wild and others of its own kind to mate with. For similar reasons, it’s crucial that your moth or butterfly species already lives wild in the area you plan to release it.
Also read: What do Butterflies Eat and Drink? (Detailed Guide)
Step 2: Get a container
A container for your caterpillar to live in can be almost anything. It’s crucial that your caterpillar has access to light and air and plenty of space to move around. You also need space to put in enough food for your caterpillar.
A plastic tub and big jar are often favoured. You can make a wooden box so long as light and air can enter somewhere. Using mesh for the roof or cutting holes in the lid can be a good way to do this. It’s important that the box can be closed so the caterpillar can’t escape and that you can easily clean it.
Also read: Creating a DIY Butterfly Garden (A List of Must-Haves)
Step 3: The base
Although many caterpillars don’t require soil or stone at the bottom of the container, it can give it a more natural feel. Depending on what type of caterpillar you have, some may also like to pupate within the soil. This substrate can help regulate the temperature and humidity in the container.
Step 4: The plants
Once you know what food your caterpillar likes, you need to make sure there’s always plenty available. Once the leaves are wilted, they will be unpalatable to our little insect. You want to make sure there is a constant cover for your caterpillar as being out in the open can make them feel vulnerable and stressed.
To keep your plants fresher for longer, you can use living ones, putting them in little pots and removing them once the caterpillar has eaten its fill. If you’re careful not to let the plant get too decimated, you can hopefully coax it back to life and use it again in the future.
Alternatively, you could place your cut vegetation in a container of water to keep them fresh for longer; however, make sure there is some kind of cover over the cup so the caterpillar can’t fall in and drown.
As the space you have is likely relatively small, it’s worth noting that the thin branches of your vegetation might not be able to cope with the weight of the caterpillar as it grows, or once it pupates, therefore it can be beneficial to include a few pieces of wood, angled upwards, to allow the caterpillar to climb.
Also read: What Caterpillar Eats Parsley? (List of Species)
Step 5: Water
Caterpillars don’t need a bowl of water to drink from, and in fact, this can be dangerous as they could drown in it. However, if they get too dry, they could die, so it’s worth misting your leaves occasionally before you place them in; this way, the caterpillar will get a little moisture as it eats.
Step 6: Cleaning
Caterpillars don’t create too much mess; just little pellets called frass. It’s worth removing these occasionally to keep the caterpillars home clean and sanitised. Caterpillar frass is an excellent source of nutrients so you can dispose of the frass at the base of your favourite roses or in your vegetable patch.
Also read: Is a Caterpillar an Insect? (Explained)
Step 7: Caterpillar introduction
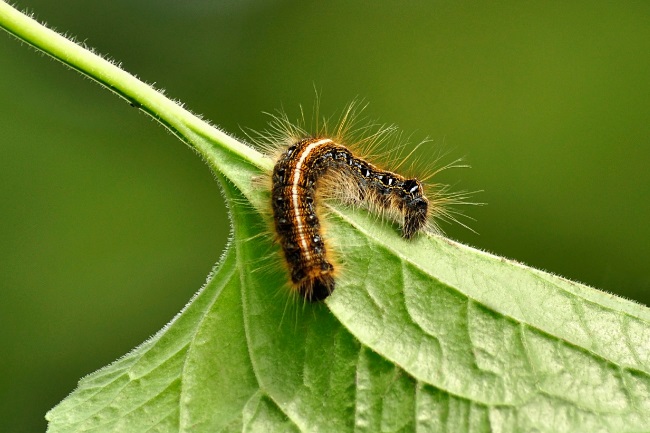
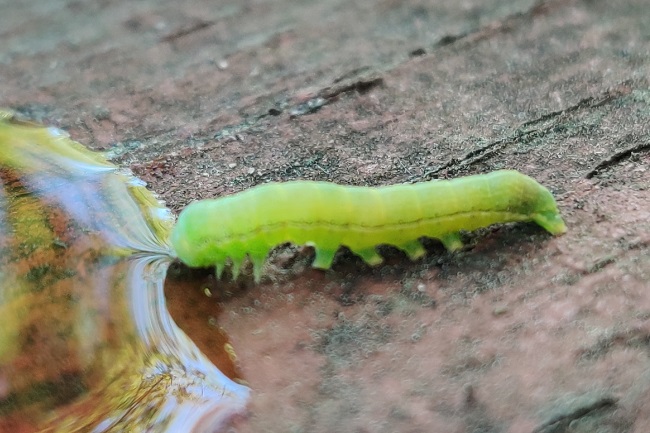
Once everything is ready, you can bring in your caterpillar. You can either buy caterpillars online or collect one from your garden. It’s essential you never take too many from one place and that you know what caterpillar it is before you touch it, as some caterpillars can have irritating hairs.
Once the caterpillar is in, make sure you keep it well fed, and ensure the temperature it is in is suitable. Do not put it in direct sunlight as it may get too hot, whereas leaving it somewhere cold such as a shed or garage, might mean it’s too chilly.
Also read: Why Caterpillars Should Not Be Collected With Bare Hands?
Step 8: The release
Once your caterpillar has eaten its fill, you get the pleasure of watching it pupate. In its pupa or chrysalis, it will no longer need to eat. Remove unwanted vegetation but do not disturb the pupa.
Having finished its metamorphosis, a beautiful butterfly or moth will emerge. It may be tempting to go straight out and release it, but it takes a while for the exoskeleton and the wings of the butterfly or moth to harden; if anything touches them before that point, it can damage them.
Go to a suitable spot where you know there is plenty of food for the adult butterfly and release them into the wild by opening the container. It’s best not to touch them with your hands if possible, but you may need to coax them out.
Also read:
Here’s “How does a Caterpillar Make a Chrysalis?”
How Does a Caterpillar Turn Into a Butterfly? (Explained)
Learning about nature
Learning about nature is vital for all of us, because we are a part of it. With our busy, often urban lives, we don’t always get to interact with nature in a meaningful way on a day to day basis. Rearing a caterpillar can be a great way to make this connection, but remember that you are fully responsible for its care once you have taken it in. Some caterpillars can take over a month to complete their cycle, so make sure you’re in it for the long haul.